Software Setup
New England GMRS Network Setup Guide
Note
The New England GMRS software, is very easy to setup and includes a modified version of Supermon System Manager. Most of the modification were to remove dead links to Allstar and modernize the interface to allow usage from mobile devices and pads. Some additional functionality has been added along with changelog file to show all the changes. Our software also allows you to dial to the TGLN Nationwide 10100, directly or through our Hub/Room 7100.
Burning the Image
- If you have not done so yet, download the NewEnglandGMRSV1_6_0.img file.
- Use Wiin32DiskImager to burn the image (IMG) file to a micro SD Card.
- After burning the image to the card, eject the card from your computer, make sure that
your Pi is powered down (OFF), and CAREFULLY insert the SD card into the Pi card
slot.
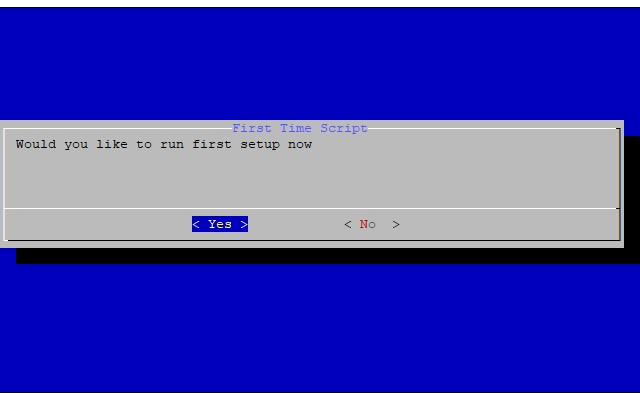
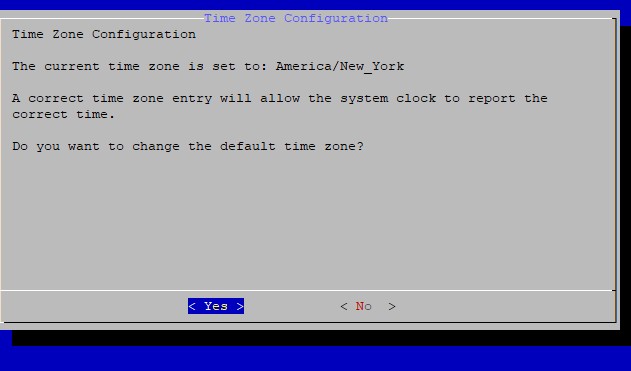
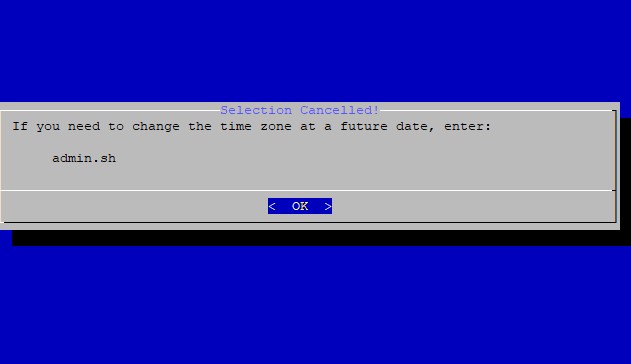
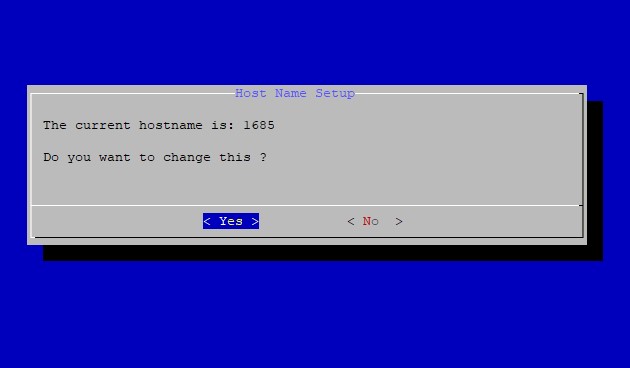
Configuration
- The easiest way to set up your Pi is to use a monitor and keyboard for your Pi.
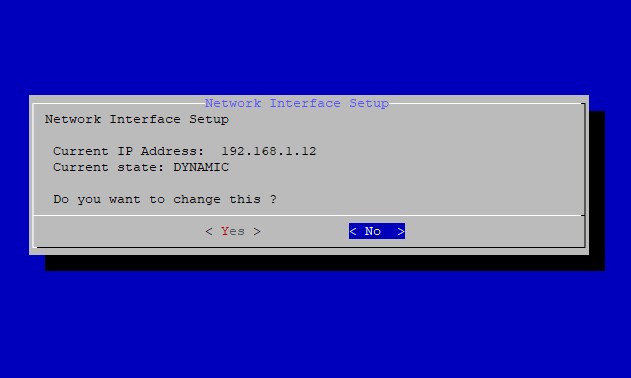
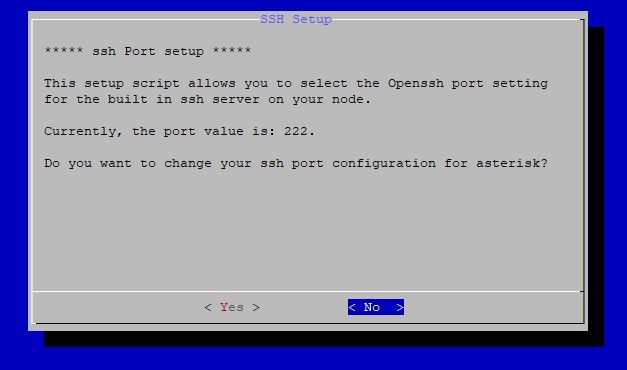
- You may also connect to your Pi using an SSH connection over your network (hard
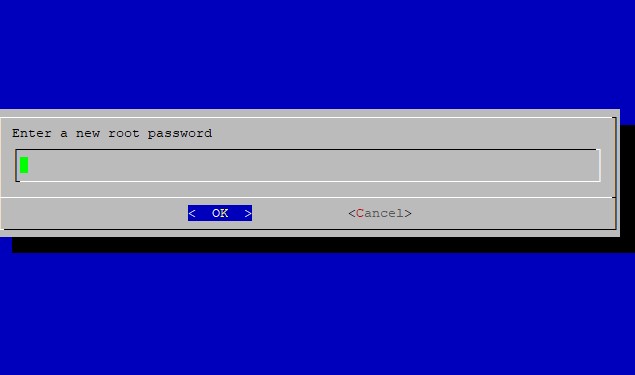
wired) with the Putty or WinSCP software. You can get the IP address if you have your radio tuned to your Nodes frequency. If you are having a node built I would recommend 462.625 with a PL of 100. - The default username is root and the password is raspberry.
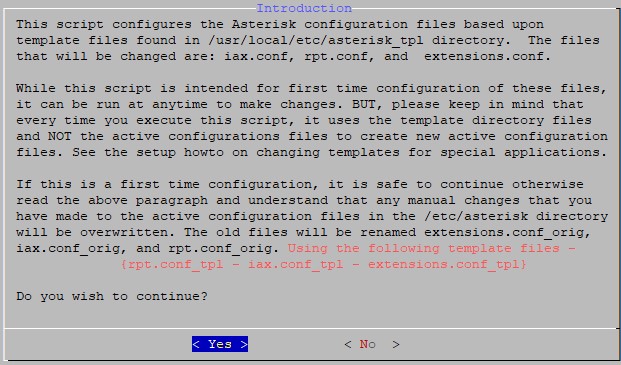


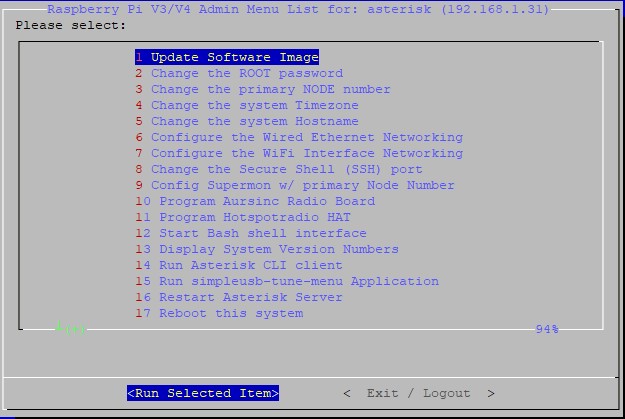
At this point you should run item 1 and update the software to the latest version. As improvements are made on the software, You will receive an email to notify you to update your software.
This NewEnglandGMRSv1_6_0.img is meant to be used for a Simplex Node. It has pre-configured passwords to make setup easy. Your Supermon is installed and configured. You can access it at http://[yournodesip]/supermon/ The admin login user is: admin , password: raspberry. Be sure to run this install only behind your router’s firewall. Opening any ports in your router will lead to a disaster. If you want to run a Hub from this image it is up to YOU to secure the credentials.
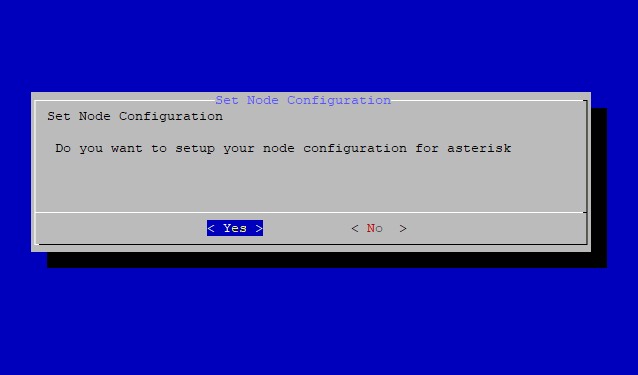
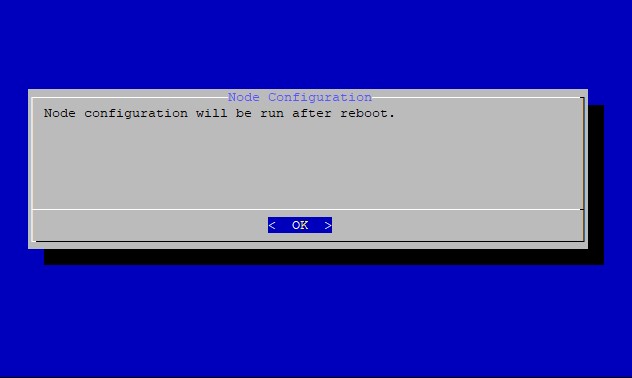
You node has also been configured to auto connect to the Testing hub, 1686. Also if you leave your node running 24/7 it will reboot itself at 3 AM every day. Once you have determined your audio settings are correct and everything is running smoothly, you can change the default Hub to 7000. You can find the directions on how to do this in the Tips & Tricks section of this website.
STEP 2
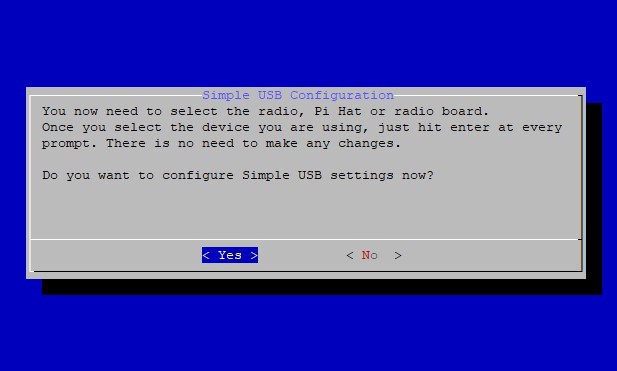
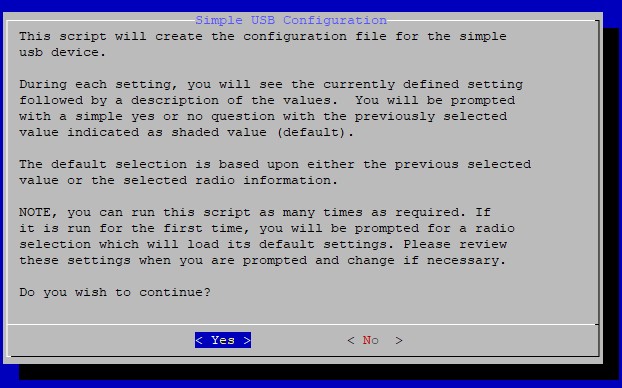
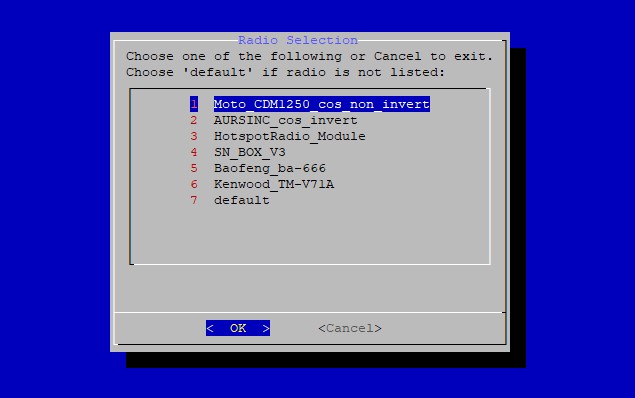
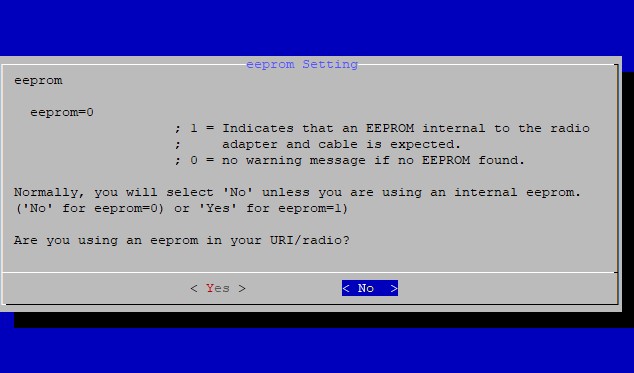
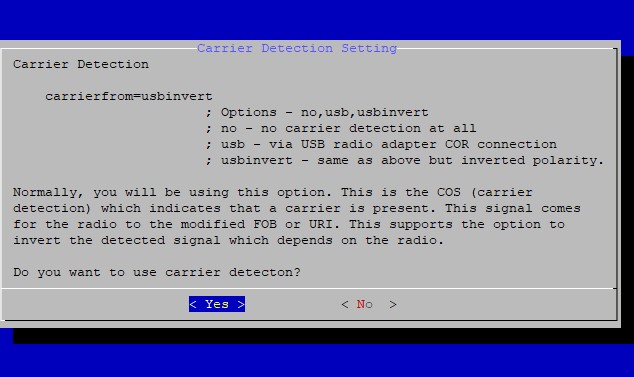
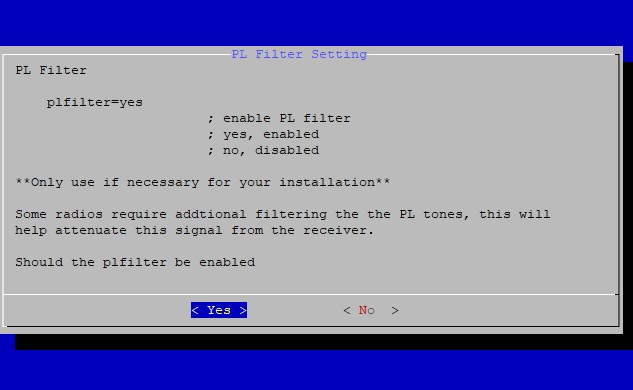
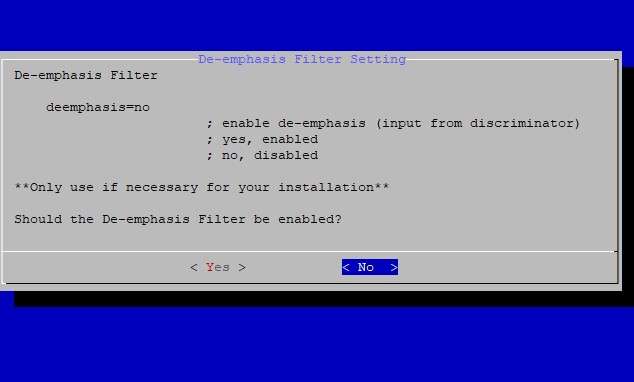
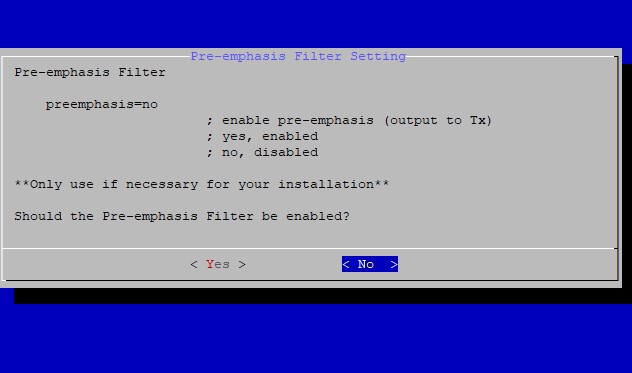
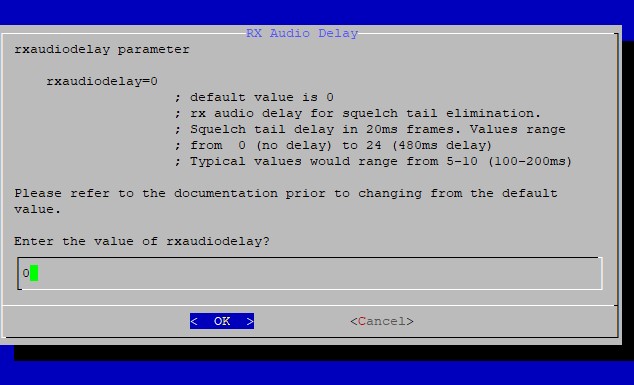
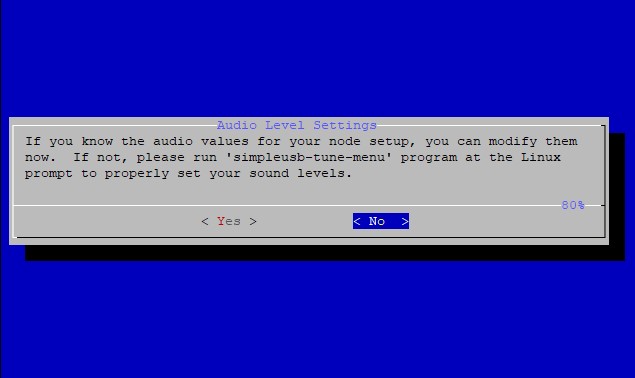
- Adjust the SimpleUSB settings: You most likely will not have to do this if you selected your radio or hat from the selection when you ran the setup. If you do, below are some basic settings to get going. We have default setting for the Motorola CDM’s and the hotspotradio.com hat. I will post those setting here at some point. On Image 1.5 and up, this can be done from Supermon.
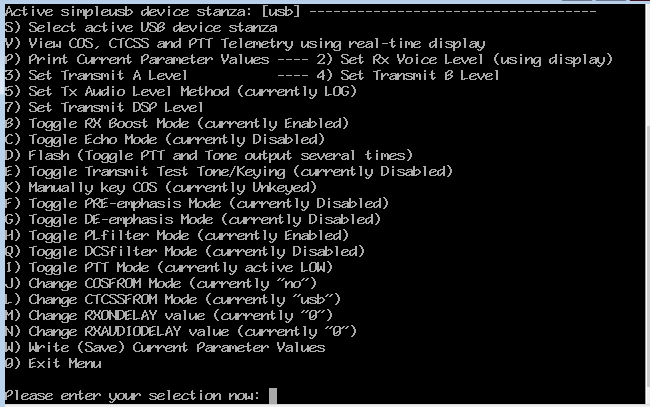
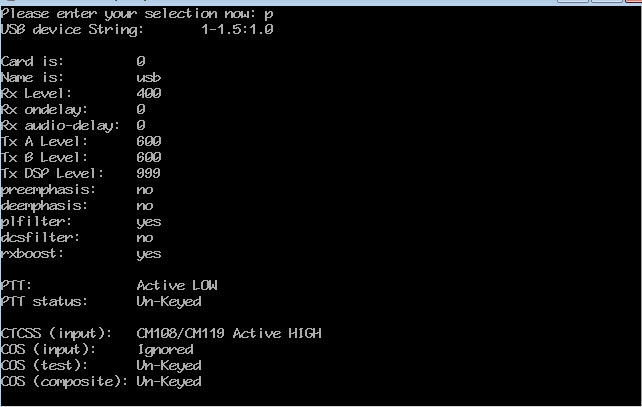
Above is an image showing the settings for the SimpleUSB on the Motorola CDM Series radios.
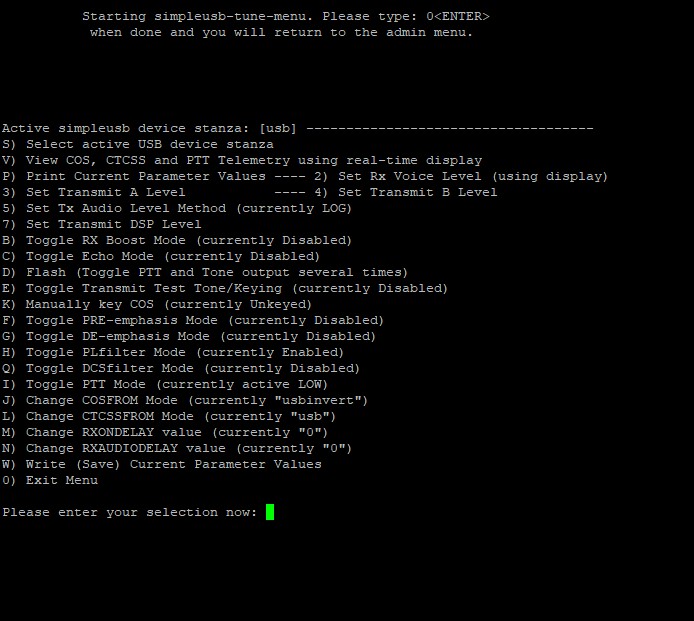
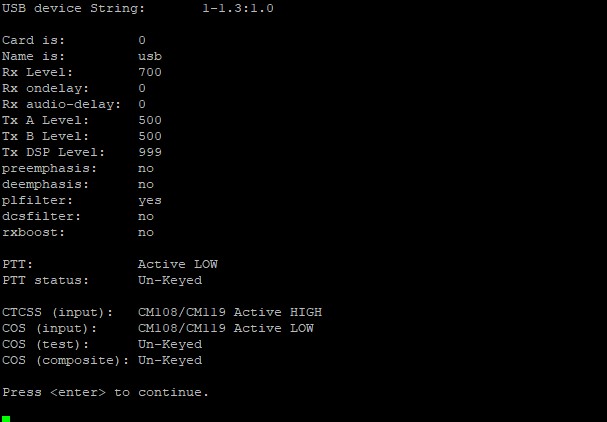
Above is an image showing the settings for the SimpleUSB on the Amazon Dongle.
Important Note:
Make sure that when you are changing to another HUB/Room, that you ALWAYS disconnect
from the HUB/Room you were connected to before connecting to a different HUB/Room. We do
not allow linking HUBs/Rooms to other ones.
Additional (*) Commands:
*910 Reboot the system. (Raspberry Pi)
*911 Halt the system. (Shut down the Raspberry Pi)
*912 Say local IP address to the radio.
*913 Say public IP address to the radio.
*914 Say registration status.
915 One time parrot mode. (See Note Below)
*916 Restart Asterisk.
NOTE: The One Time Parrot mode will allow you to key up your mic, say something and it
will repeat what you said, allowing you to hear what you sound like over the system. Each time
you want to do this you need to enter the command before you speak.
Example: Press and hold the PTT button, enter *915 and speak your message. Then release
the PTT button to hear the playback.)
Other Network’s Software
You don’t have to use the New England GMRS software. If you don’t, you will have to add these lines to your rpt.conf file.
[nodes]
- 7000 = radio@hubs.newenglandgmrs.com:4569/7000,hubs.newenglandgmrs.com
- 7100 = radio@hubs.newenglandgmrs.com:4569/7100,hubs.newenglandgmrs.com
- 7110 = radio@hubs.newenglandgmrs.com:4569/7110,hubs.newenglandgmrs.com
- 7200 = radio@hubs.newenglandgmrs.com:4569/7200,hubs.newenglandgmrs.com
- 7300 = radio@hubs.newenglandgmrs.com:4569/7300,hubs.newenglandgmrs.com
- 7400 = radio@hubs.newenglandgmrs.com:4569/7400,hubs.newenglandgmrs.com
- 7500 = radio@hubs.newenglandgmrs.com:4569/7500,hubs.newenglandgmrs.com
- 7600 = radio@hubs.newenglandgmrs.com:4569/7600,hubs.newenglandgmrs.com
- 7700 = radio@hubs.newenglandgmrs.com:4569/7700,hubs.newenglandgmrs.com
- 7800 = radio@hubs.newenglandgmrs.com:4569/7800,hubs.newenglandgmrs.com
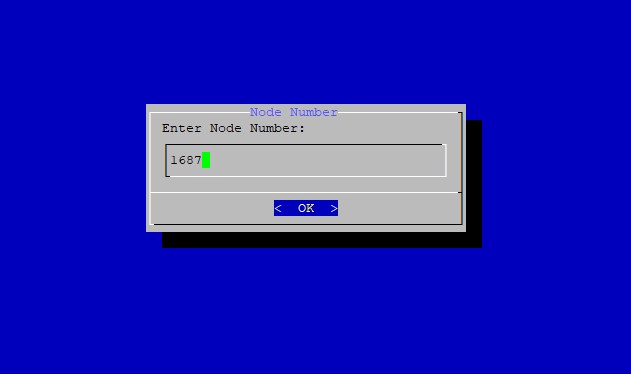
You will also have to request a node number so we can add your node number to our registry. Be sure to let us know that you have a node number from another network.