Getting Started
To get started you will need 5 things.
- RaspberryPi 2, 3 or 4
- A radio
- RIM, URI, Dongle or HAT
- New England GMRS image file
- A New England GMRS Node number
To get your node number you will have to file out our online form or send an email to support@newenglandgmrs.com, in you email include the following:
- First and last name
- Address
- Phone number
- eMail Address
- GMRS Call Sign
I know Pi’s are difficult to get right now, but if you can get a Pi 3 or 4, either will work with the New England GMRS image 1.x
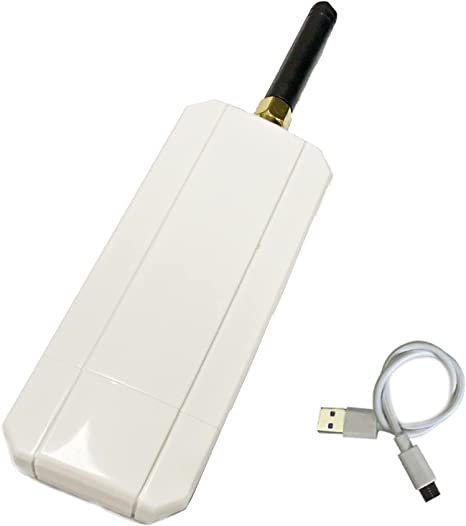
Amazon is selling a radio and sound card combination. I have tested it out and it works very well. Simply plug the USB cord into your Pi. The funny thing about it is that you turn the USB C cable 180 degrees to program the radio frequency and tone, then once programmed your turn it 180 degrees back for operational mode. When the led is green and blinking yellow, it is in radio mode. When the led is just green, it is in program mode. You can program the frequency and tones right from the New England GMRS software. At this time it does not allow for split frequencies or DCS tones. If you want to build your own node this is a good option. Here is a link to Amazon if you are interested.
Note: It has been reported that many of these units have shipped with bad USB cables. If you have an issues swap your cable out with another USB C type cable. The cable is a standard USB C cable.

As a note, if you don’t want to build you own, you can purchase a radio hat to plug into your GPIO of your Pi 3 or Pi 4. You can purchase the hat from hotspotradios.com.
For a radio, I like the Motorola CDM series. I will talk about the CDM 1250 but the 750 or 1550 will be the same. Other radios will also work, it is just a matter of cabling the radio to the Pi.
For the CDM’s repeater-builder have a nice cable which works nicely.
The RIM-Maxtrac would be for a node, single radio, the RIM-Maxtrac-RM would be for a repeater with a separate transmitter and receiver. The RIM-Maxtrac-RM would be used as your repeater controller.


Above is a picture of the RIM installed on the CDM radio. This is a view from the top of the radio. Notice the extra 2 pins on the left and right of the RIM. The radio has a 20 pin accessory port where the RIM is 16 pins.

Once you have your radio connected to your Raspberry PI go to Software Setup.